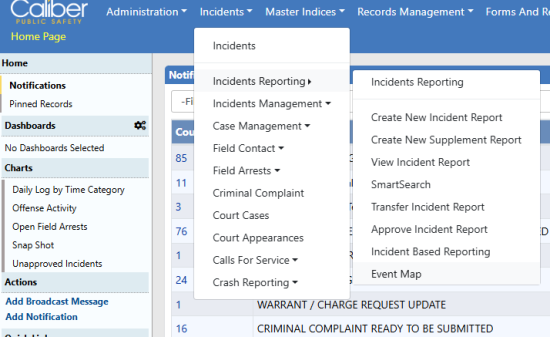
Incident Mapping, is no longer a menu option. Users may now look for the Event Map in the same menu group.
Click on the Incidents > Incidents Reporting drop-down menu on the top Navigation Bar, then click on Event Map.
The Event Map gives the user a means to display events filtered for a number of different values (including date and event type), displayed in a geographic area defined by the user or agency (the "shape"). Your agency may have specific shapes defined that can be selected from the menu
Entering Queries
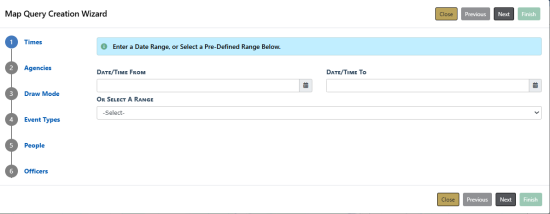
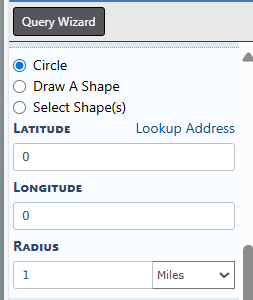
To display events on the map, you must enter a query and define a shape. Selecting the Query Wizard button will open the Query Wizard to step the user through the components of the query.
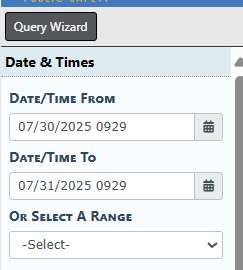
The components of your query can be entered in the side menu as well. Enter the date range (both "From" and "To") to begin.
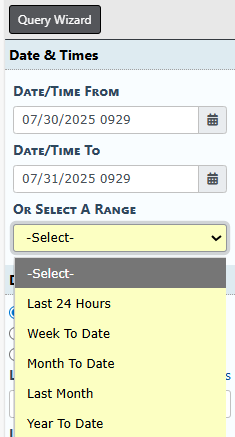
You can also select from pre-defined date ranges from the pull-down menu.
The Event Map can display various Event Types, including Active Warrants, Calls for Service, Citations, Court Papers, Crash Reporting, Field Arrests, Field Contacts, Incidents, Recovered Properties, and Recovered vehicles. The type displayed depends on the user's query selections.
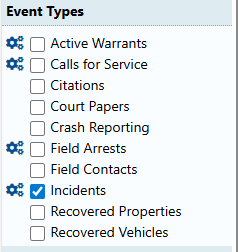
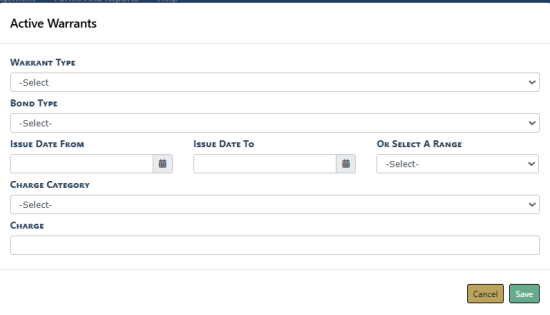
Click the gear icon for the applicable Event Types to filter for additional criteria specific to the event type. For example, the additional filter criteria for Active Warrants is shown here:
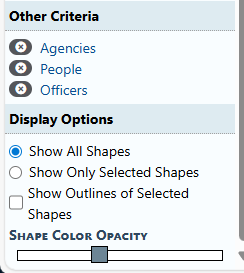
Additionally, users may select from Agencies, People, and Officers when defining mapping queries. (One of the reasons the Query Wizard is helpful is that it makes it easier to see and enter this type of data.)
Designating Shapes
Before events can be displayed, a shape is required. You can select from a circle, a shape you draw manually, or a shape that has been created for use by your agency. The side menu slider button allows you to adjust the opacity of the shape created.
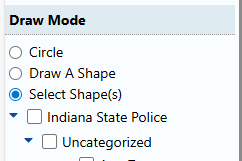
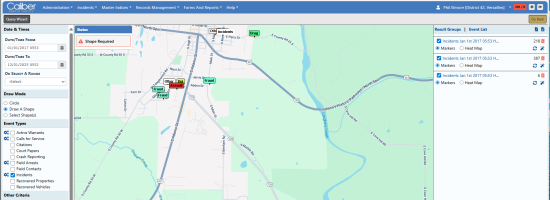
The shape requirement is indicated by the [Shape] Required flag on the Event Map page. If you have Circle selected, the flag will say Circle Required. If you have Draw a Shape selected, the circle will say Shape Required. If you have Select Shape(s) selected, the flag will say Shape IDs Required.

When using the circle for a shape, make sure you have an appropriate radius entered. Wherever you click on the map will generate a circle of that radius.
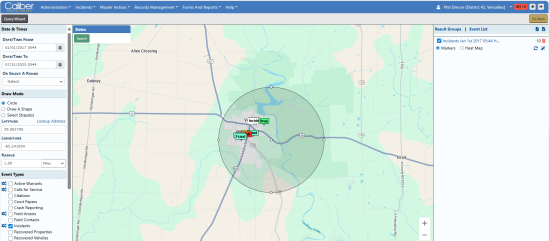
Once the circle exists on the map, the user may stretch it or shrink it by clicking it on it and grabbing one of the index points on the circle. This changes the radius. The circle can also be moved around on the map, changing its center point.
NOTE: Use the Lookup Address link to identify a verified address that becomes the center of the circle with the radius you specify.
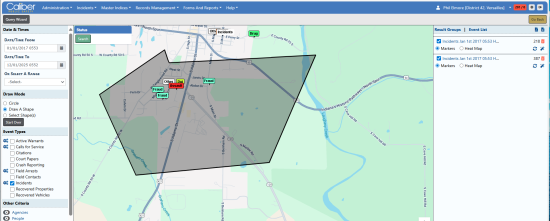
When drawing a shape manually, click to create each segment and connect the shape to activate it.
Selecting an agency defined Shape ID will produce the predefined shape requested.
Query Results
Your query results will display on the map. Completed queries are also listed in the right-hand menu. You have multiple options when organizing and viewing the query results.
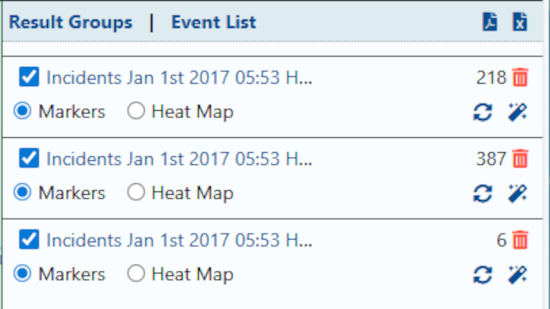
Click Result Groups to see the clustered list . Click Event List for a list of the events for each result group.
For each result group, you may do any of the following:
Select the Spreadsheet icon  to export a spreadsheet of the event results.
Select the PDF icon to export a PDF of the event results.
Switch from map Markers to the Heat Map of the results by selecting the associated radio buttons.
Select the Delete  icon to remove the results group from the list.
Select the Reload icon to reload the query parameters used for that result group into the left-side menu.
Select the Wand icon to enter the query parameters used for that result group into the query wizard.
NOTE: To hide or display results in a group on the map, the user must select or deselect the checkbox to the left of the query result group.
NOTE: At this time, clicking an event on the Event Map does NOT bring up the associated record. Record numbers must be recorded manually for subsequent lookup.