Incidents Reports can be created in Online RMS manually, or integrated from Caliber CAD for Agencies with an active Caliber CAD interface.
The Integration Interface transfers Caliber CAD call information to the Online RMS Calls For Service module and initiates an Incident Report for the responding unit, linking the Caliber CAD data to the report.
Beginning with Online RMS 11.7.0, you can create a Field Arrest and import data from an incident or Calls for Service into the arrest record to avoid unnecessary data entry.
Note: If the CFS module and integration is turned on, and the integration process cannot match people that exist on the CFS record with RMS, the unmatched names appear on the Names tab of the Incident Report. With appropriate permissions, you have the option to add unmatched people to the Master Index in RMS, then associate them with the Incident Report. For details, refer to Names Tab.
| • | Incident Reporting includes the following activities: |
| – | Create New Incident Report manually, or by integration from Caliber CAD, if applicable. |
Note: The Wizard leads you through each section of the incident report to help you fulfill the system requirements for a valid incident report. The Wizard can be turned on and off, but you should leave it on to help ensure that you complete required information. This practice helps to prevent problems with validation at the end of the incident creation process.
| – | Create Supplement to Incident Report |
| – | View Incident Report |
Note: With appropriate permissions, investigators can create a case on an initial unapproved Incident to begin working on an investigation without waiting for Incident approval. Refer to Create a Follow-Up Case for details.
| – | SmartSearch |
| – | Incident Mapping |
| – | Transfer Incident Report |
| – | Approve Incident Report. (Available with proper permissions.) |
| – | Incident Based Reporting (Available with proper permissions.) |
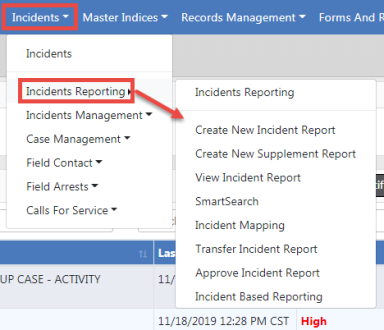
| • | You can access these features from the Incident Reporting sub-menus. Click Incidents on the top navigation bar, then click the Incident Reporting to display more options from which you can select. |
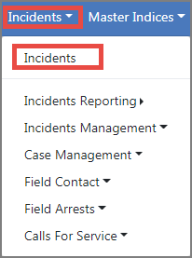
Or, you can click Incidents on the navigation bar, then click Incidents again to display all Incident options. Click on an option to access that module.
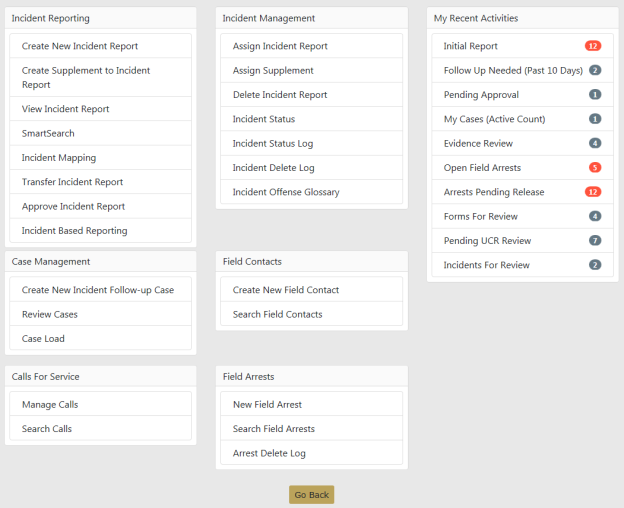
Note: Items that appear are based on permissions and vary by user.
The Incident Report contains various buttons that enable the user to Pin Incident, Exit Report, Quick Print, Print, Transfer the report to a different user, Show or Exit the Wizard. The Submit for Approval button remains inactive (gray) until the components of the report are completed appropriately and the report is ready for review by an officer supervisor or CID supervisor.

The top buttons appear regardless which tab the user is on.
While viewing or editing an incident record, you can Pin it to your Home Page for quick reference.
To Pin, click on the green Pin Incident button located on the top left of the page while on the Summary tab; the button color then changes from green to gold and the label changes to Unpin Incident.
To unpin, click on the gold Unpin Incident button.
For more information on pinned records that appear on the Home Page, refer to Home Page .
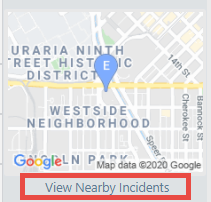
Google Maps appears on the Summary tab of the Incident, showing the location of the report location when a latitude and longitude are associated with the address.
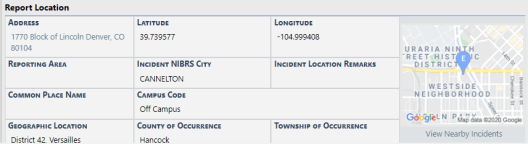
Click on the View Nearby Incidents link to view incidents on the map.