
Add Inventory allows you to add quantities to current items. Use the following procedures to add Inventory:
From the Inventory Management page, select the Add New Inventory link to open the Search For Existing Inventory page.
Note: The first step to adding inventory is always to search for existing inventory with descriptions that apply to the item(s) you want to add. This is to ensure that duplicate entries are not made. The goal is to locate and use existing entries to add additional quantities so that the same descriptors are shared across the entire organization.
Perform the search to display the Search Results page. For details refer to Search for Existing Inventory.
If there are no matches to your search then you need to add the new inventory. For details refer to Add New Inventory.
If the search results returns records, add the inventory to existing inventory. For details refer to Add to Existing Inventory
From the Incident Management page, select the Add New Inventory link to open the Search For Existing Inventory page.
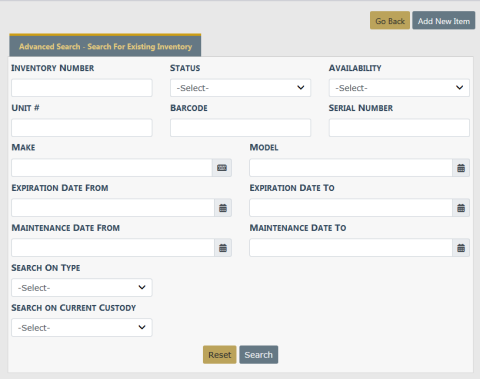
Complete as many of the fields in the Advanced Search section as you can.
| – | The Inventory Number field is not required, and it only applies if your agency uses inventory numbers. |
| – | Select/enter values for any of the fields for which you have information. |
| – | Any field with an Auto Filter icon  to the right provides a list that matches your text. Begin typing in this field and it brings up a selection based on what you have typed. The fields that display -Select- contains a drop-down selection from which to choose. Click a selection to pull it into the field. to the right provides a list that matches your text. Begin typing in this field and it brings up a selection based on what you have typed. The fields that display -Select- contains a drop-down selection from which to choose. Click a selection to pull it into the field. |
If you choose Search On Type, additional fields appear based on your selection.

If you choose to Search on Current Custody, additional fields appear based on your selection.

Once you have made the selections, select Search.
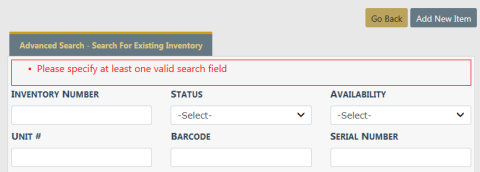
If you select Search without entering a valid search field, the Search For Existing Inventory page displays with an error message as shown.
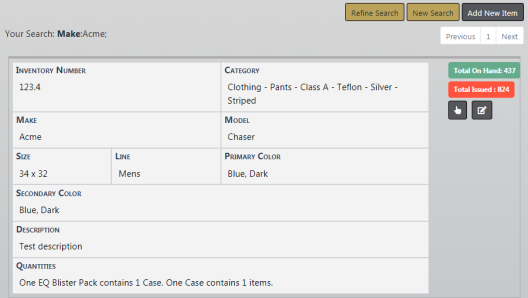
Once you have performed a search and the search results page returns, locate an item description that matches the item(s) you want to add to the inventory then select the  next to the item to add to the inventory.
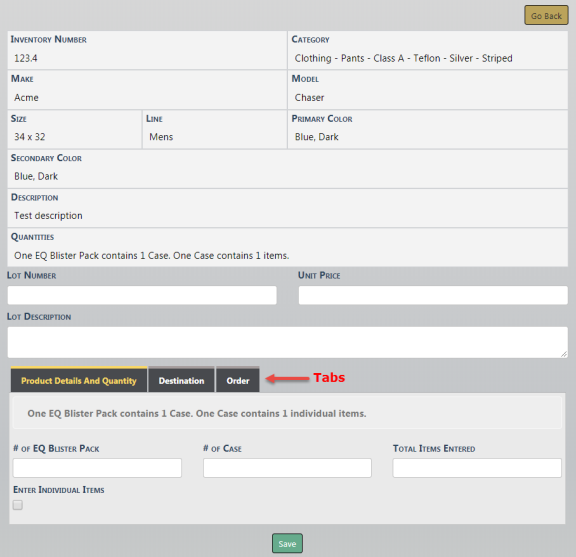
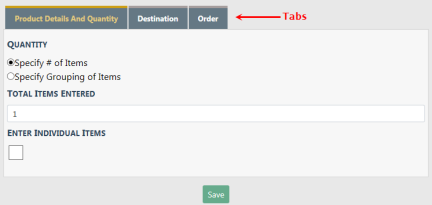
Enter all the information you have available to include the Product Details and Quantity. Destination and Order Tabs. Select Save. You receive the message ensuring you that the new item(s) are being entered into the system.
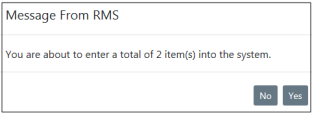
Click Yes to enter the new items, or click No to return to the previous screen without entering the new items.
If there is nothing in the system that matches your search, a No search results found message displays.
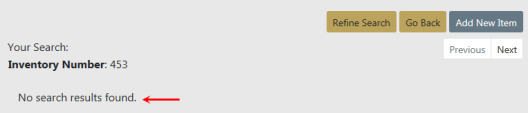
Add the new item by selecting the Add New Item button on the top right.
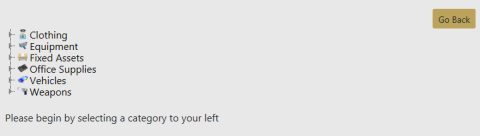
Begin by selecting a Category to your left.
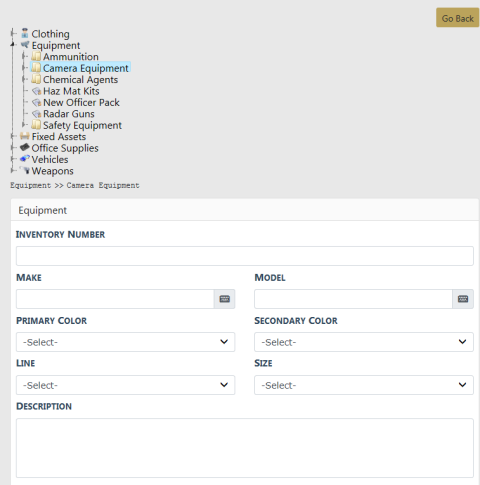
Enter as much information regarding the new Inventory item.
Page down to fill in the Product Details, Destination and Order tabs. Required fields display a red border to the left of the field. Be sure to check all tabs for required fields.
Once all information is entered for the New Inventory Item, select Save.
You receive a notification that you are about to enter an amount of items into the system, select Yes or No.
The inventory manager can edit entries in the inventory module. However, the manager must always be aware that item descriptors are shared so edits affect other agencies in the same organization.
| – | Editing Item Descriptors (shared): When adding new inventory the inventory manager searches to determine if the item descriptors already exist in Online RMS. If search results return a match, the manager selects item descriptors to add new quantity on-hand to update the warehouse. While reviewing the search results, the user can also edit item descriptors. |
Note: Changes affect all entries across the entire organization. A warning banner displays across the top of the page if matching records exist.

| – | Editing Item Details (not shared): While browsing existing inventory (stock on-hand), the manager can edit the on-hand detail specific to the warehouse. Fields open for edit include: Unit Number, Serial Number, Barcode Number, Expiration Date, Maintenance Date, Status, Usability, and the Disposed check box. |
Log entries can be reviewed or created as needed per item. Custody history is also available for viewing and is updated automatically each time an event takes place
Select the  icon next to the item you wish to edit to display the edit page.

Make the needed changes then select Update. A message appears across the top of the page letting you know the Inventory Item has been updated. Select Exit.
You may edit another item or elect to Go Back so you can search for another item to perform the same or a different task.