 that appears in the Actions column of the course record you want to update. The Edit Course form opens.
 To edit a course you must first Search for the course. The Search Results provides the option to edit the course data.
1. Click on the Manage Courses button on the Training dashboard. For details on accessing the dashboard refer to Training Module Dashboard
| 2. | The Course Search screen appears. Search for the course you want to update. For instructions on how to search for courses refer to Search Courses . |
| 3. | In the Course Search Results, click on the Edit icon that appears in the Actions column of the course record you want to update. The Edit Course form opens. |
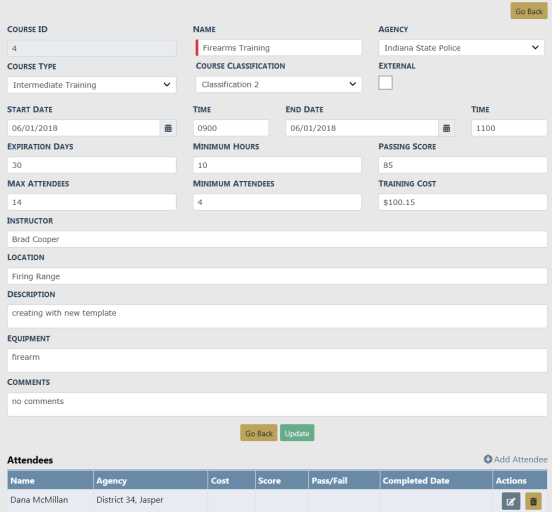
| 4. | Make the necessary updates to the existing data, then click the Update button to apply the changes, or click the Go Back button to return to the Course Search Results window, if you wish. |
Note: You cannot delete a Course Instance. Enter the appropriate End Date if created in error or if you need to end a particular Course Instance for whatever reason.
| 5. | You can Add, Edit, or Delete an Attendee. |
a. Click on the Add Attendee link while on the Edit Course form to add attendees to the class. The Employee Search screen appears.
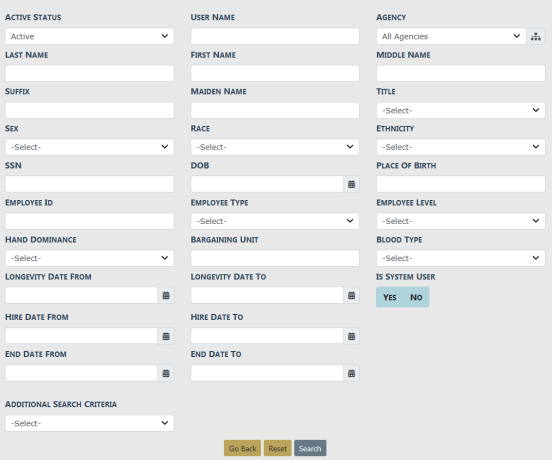
b. Enter the search criteria into the fields provided, then click Search to display the Employee Search Results.
c. Optionally click on the person's Last Name to view the employee record, or click the Select icon  under the Actions column to select and add the person to the course record.
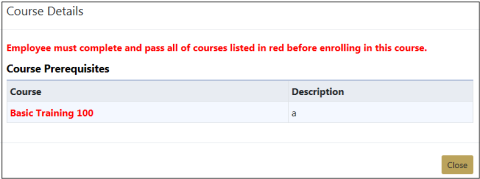
d. If the employee has not yet filled a Prerequisite that is associated with the course, a message appears indicating the selected employee cannot yet enroll in this course.
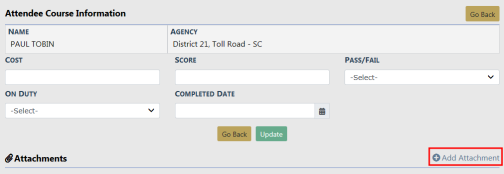
e. If there are no Prerequisites to fulfill, the Add Attendee form appears.
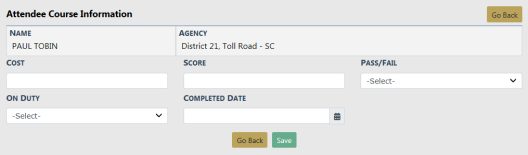
f. Enter the appropriate information then click Save, or click Go Back to return to the Employee Search Results screen without adding the attendee. Leave fields blank that do not currently apply.
g. After clicking Save, An Add Attachment link appears. Click on the link to attach a photo or document to this attendee record. A prior certification, for example. For instructions on attaching documents refer to Attachments.
h. If you made changes or added attachment, click Update, then Go Back to return to the Edit Course form, otherwise click Go Back.
i. Attendees that are successfully enrolled in the course appear in the Attendees grid.

Note: When enrolling an attendee, the system also add the course to the attendee's Online RMS Employee record automatically. For more information refer to the Online RMS Administrator Guide or your system administrator.
a. Click the Edit icon on the attendee record you want to update and the Edit Attendee form opens.

b. Enter the relevant information then click Update to save your changes.
c. Click Go Back to return to the Edit Course page.
d. Make other needed updates if needed, then click Update. Click Go Back to return to the Course Search Results page.
a. Click the Delete icon  on the attendee record you want to delete.
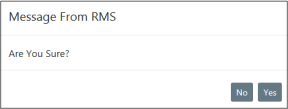
b. A confirmation window appears. Click Yes to delete or No to return to the Edit Course window without deleting.
| 6. | You can restrict the class to specific groups. |
a. Click on the Restrict to Group link while on the Edit Course form. The Group window appears.

b. Click on the Group field and select a group from the list. This list is configurable and is maintained by your administrator.
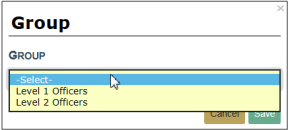
c. Click Save to add the group or Cancel to return to the Edit Course window without adding the group.
Delete a Group from the Course
a. Click the Delete icon on the group record you want to delete from the course.

b. A confirmation window appears. Click Yes to delete or No to return to the Edit Course window without deleting.
Note: When deleting an enrolled attendee, the system also removes the course from the attendee's Online RMS Employee record automatically. For more information refer to the Online RMS Administrator Guide or your agency administrator.
| 7. | Click the Go Back button to return to the Course Search Results screen. |