Print Field Arrest
You can Print an existing Field Arrest from either the View Field Arrest or Edit Field Arrest page.
1. From either page, click on the Print button.

|
2.
|
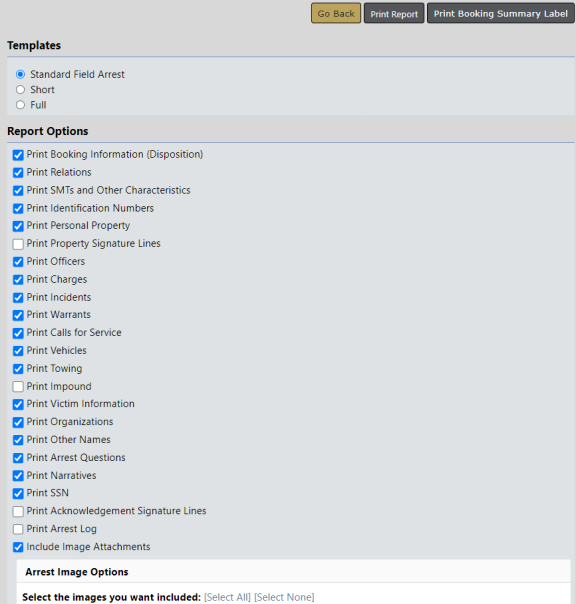
The Print Options page opens, with the default settings selected automatically. |
|
3.
|
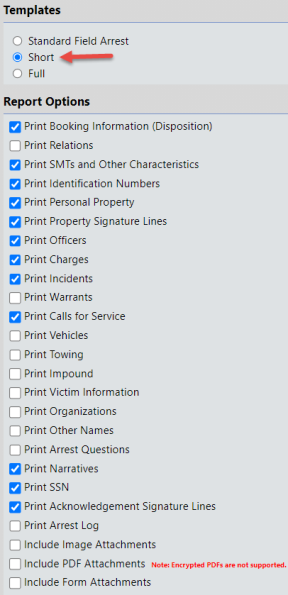
Select the Template you wish to use. The template preselects report options for you. |
|
-
|
All print options are available, and all, except for the Print Acknowledgment Signature Lines, are preselected as shown in step 2. |
|
-
|
A shortened set of print options are available, and fewer print options are preselected. |
|
-
|
All print options are available, as shown in step 2, except all are preselected, including Print Acknowledgment Signature Lines. |
Note: Whichever template you choose, you can still elect to select or deselect print options.
|
4.
|
Select or deselect any Report Options, if needed. |
|
5.
|
Select Arrest Image Options, if applicable, by clicking Select All to include all existing arrest images on the report, or click Select None to exclude all arrest images. |
|
6.
|
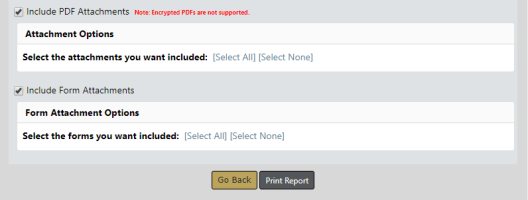
Select the PDF Attachments you want to include or exclude, if applicable, by clicking Select All to include all existing PDF attachments on the report, or click Select None to exclude all. |
|
7.
|
Select the Form Attachments you want to include or exclude, if applicable, by clicking Select All to include all existing form attachments on the report, or click Select None to exclude all. |
|
8.
|
Click on the Print Report button to open a PDF as a new tab in your browser. If you are using Internet Explorer, refer to Printing from Online RMS for special instructions. |
|
9.
|
Optionally select the Print Booking Summary Label button to open a PDF as a new tab in your browser. If you are using Internet Explorer, refer to Printing from Online RMS for special instructions. |
The PDF includes a barcode , arresting officer, arrestee information such as, SSN, address, DOB, offenses, and physical description.