There are two ways to add a warrant from the Warrant module:
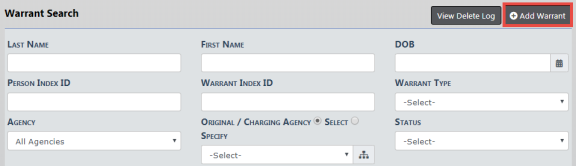
| • | Select the Add Warrant link from the Warrants Search page |
| • | Select the Add Warrant button from the Warrant Search Results page. |

Either option will open the Master Index Search page. Enter the necessary criteria to search for the person for whom to apply the Warrant, click Search, then select the appropriate person record for the Warrant.
Note: If the person for whom you are searching does not exist, select the Add Person button on top of the Search Results page to add that person. Refer to Adding Person for instructions. After you have added the person to the Master Index, you can then select the record to add a warrant for that person.
For more information on the Master Index, refer to Master Indices.
When you select the appropriate person record, the Add Warrant page opens. The person data populates from the Master Person Index record automatically.
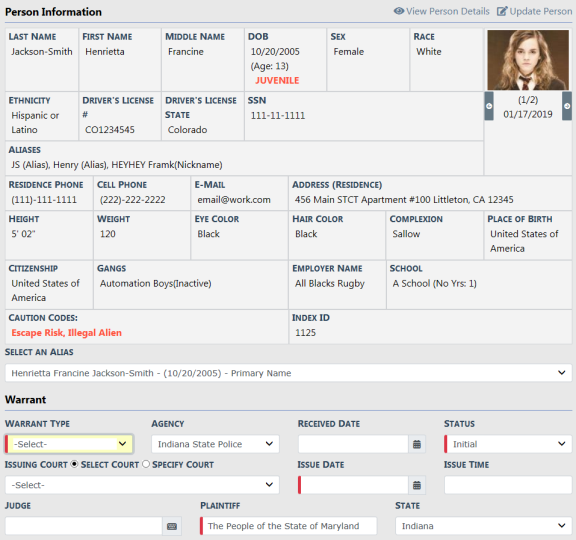
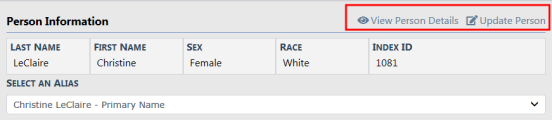
You may View Person Summary data or Update Person Details by clicking on the links provided.
Complete all fields required by your Agency.
At least one Reference Number is required. Type the number in the field, choose the Reference Type and select the Add button. Add additional Reference Numbers and Types as needed.
Note: If configured, your agency may require a Judge on warrant creation.
Check Extraditable Offense box if extraditable, and enter an Extra Comment, if applicable.
Click Save to open the Edit Warrant page.
Page down and assign officers, if applicable.

Select Assign Officer to open the officer dialog box and grid. You can assign officers inside or outside your agency.
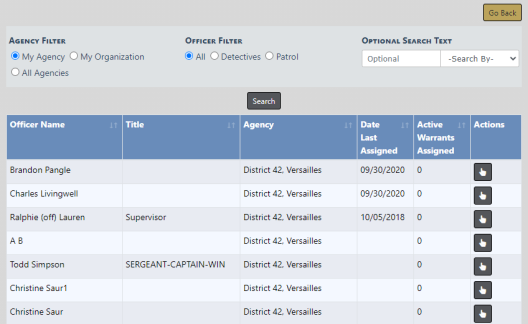
Select one Agency Filter. If you choose to filter by My Organization or All Agencies, a drop-down list appears of available agencies from which to choose.
You can use the Optional Search Text fields filter by a specific officer name, badge number, or title.
Click the Search button to filter the results list based on all selections made above.
Select  an officer from the list to open another dialog box with additional information.
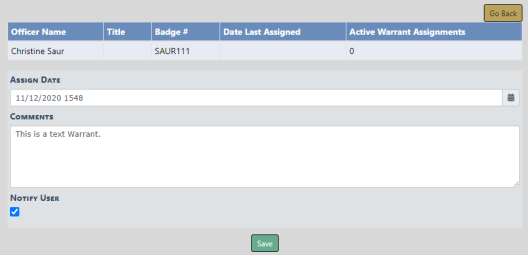
Select the Assign Date if other than the default.
Enter Comments, if appropriate.
Check Notify User if you want to notify the user of the assignment.
Click Save to add the officer assignment to the Warrant.
Optionally, assign additional officers.
Add associated Incidents and Calls For Service, if applicable.

Add Incident
Select the Add Incident link to search for and select an existing incident to associate to the Warrant.
If the selected Incident has associated Calls For Service, a list of those Calls appear and you may choose whether or not to also associate the Calls For Service to the warrant.
Add Call
Select the Add Call link to search for and select an existing Calls to associate to the Warrant.
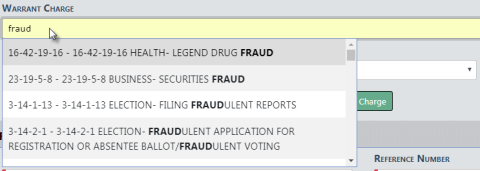
Complete the Warrant Charge section. Select the Charge Category and Charge Class, then the Warrant Charge.
Within the Warrant Charge field, search for arrest charges and statutes by entering numbers or text to display a list from which to choose.
Note: The Warrant Charge displays a list based on data entered into the Charge Category and Charge Class fields.
Enter the Charging Agency section, if applicable.

Enter Extradition and State Warrant information (if applicable).

Once all applicable information has been added, click Save to add the Warrant.