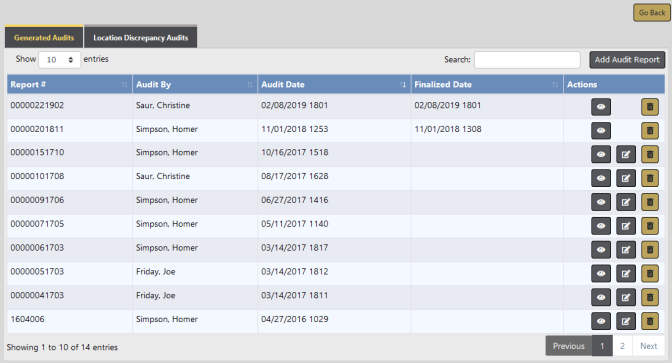
Audit Reports allows Evidence Custodians to perform self-audits of their agency's evidence or held property vault. Perform audits at any time.
Click on Audit Reports from the Property Management home window to display the available reports.
There are two tabs to the Audit Reports screen:
| • | Generated Audits |
| • | Location Discrepancy Audits |
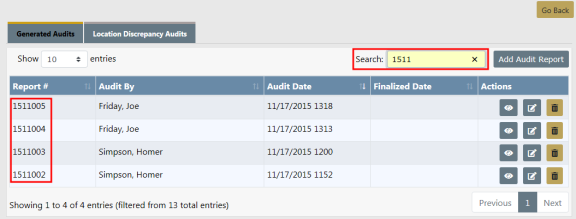
On either tab you have the ability to search for specific reports.
Click in the Search field and enter all or a portion of the data into the search text box that pertains to the search criteria. The results that match your criteria and entered data display in the grid.
You have the ability to generate a new Audit Report.
Click the Add Audit Report link on the Generated Audits tab to open the Evidence - Held Property Search form.
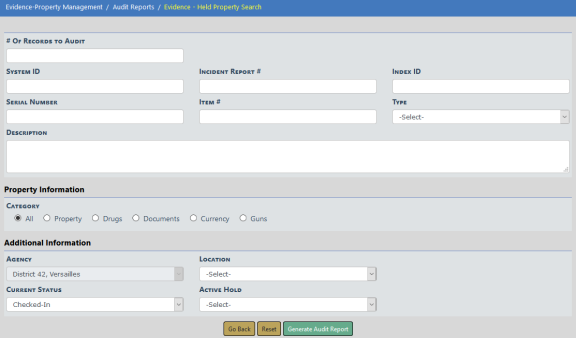
Enter the # of Records to Audit and other applicable fields then click Generate Audit Report to display the Audit Report.

If the Location is different, uncheck the box to the left, and select the correct Location from the list box on the right. Enter any necessary comments.
Click Save Audit to save the report, then click Finalize to add it to the Audit Report list.
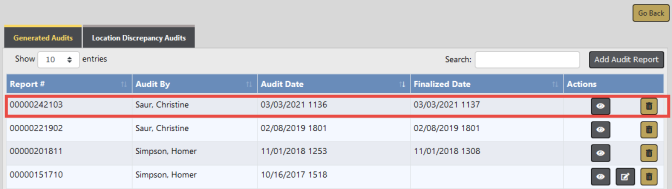
Using the icons in the Action column you can with appropriate permissions view, edit or delete reports. If an icon does not appear, then you do not have permissions to perform that action. For example, if the edit icon does not appear next to a particular report then you cannot edit that report.
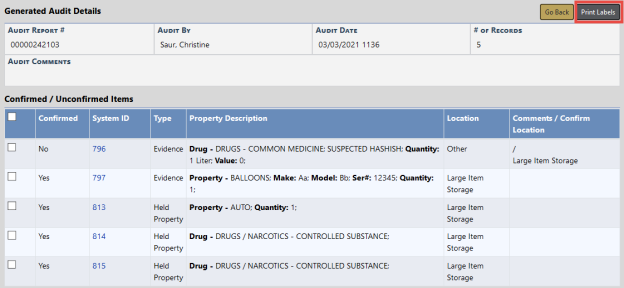
Click the View icon  to view the Audit Report and print labels.
You have the ability to create a Location Discrepancy Audit Report from the Location Discrepancy Audits tab. This report lists all items currently in a particular location.
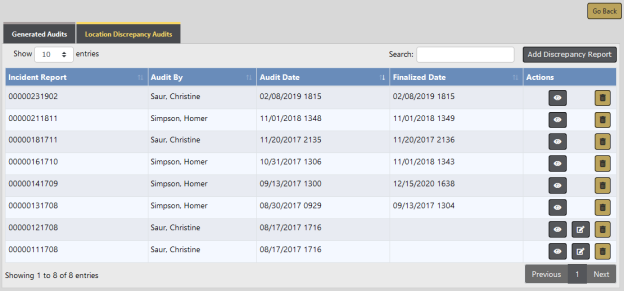
Click on the Add Discrepancy Report button to display the Location Discrepancy Audit form.
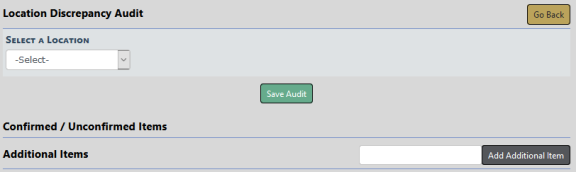
Select a location to display the Location Discrepancy Audit report.
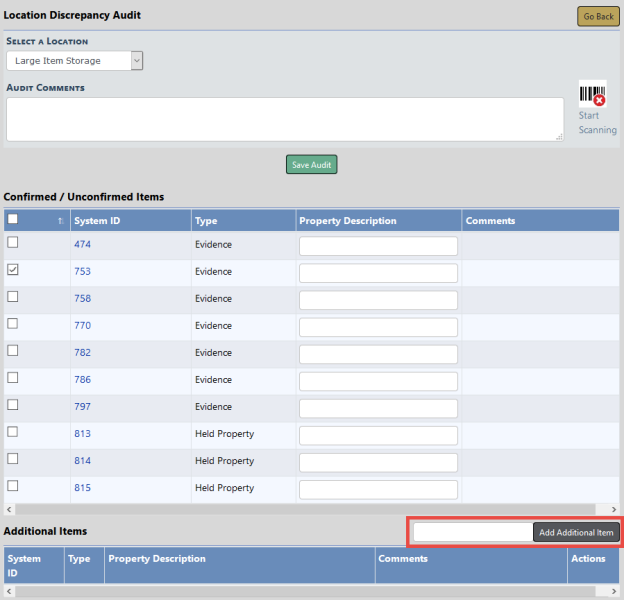
Select all items to that are Confirmed. You can select individual items, or all items at once. If all items are Confirmed, click the Select All box on the top left to check all items listed. To add an item to the list, enter the System ID in the Additional Items text field and click Add Additional Item. If the System ID entered does not exist, you will receive a message stating it could not be found.
Click the Save Audit button, then click Finalize to save the report to the Location Discrepancy Audit Reports tab.
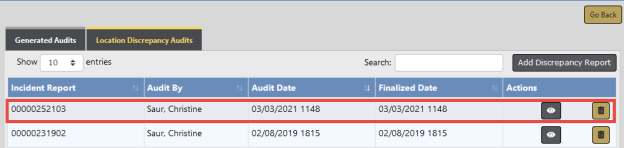
Using the icons in the Action column you can view, edit or delete reports. If an icon does not appear, then you do not have permissions to perform that action. For example, if the edit icon does not appear next to a particular report then you cannot edit that report.