Regardless of which method is used to initiate the report, the following workflow is the same for editing and completing a report; the only difference you may see is pre-populated information from CAD or Calls For Service module.
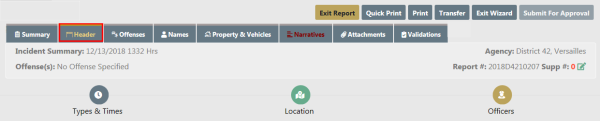
The Header Tab contains 3 separate sections: Report Types & Times, Location, and Officer. By using the Wizard the sections are completed in the listed order, though the use of the Wizard is not required.
Click on each button to access that information.
The Header Information area includes Report Security, For Public Release, Report Agency/District, the Media / Crime Summary box, Incident Report Types, Report Date, Occurrence Date Start, Incident Classification, and other information.
Report Security
Select the Incident Report security level.
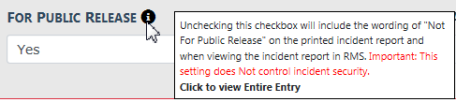
For Public Release
This field defaults to Yes. Change this value to No if this Incident should not be public. Hover over or click on the information bubble for more information.
Report Agency/District
Select the Change button to change the listed reporting agency. You must have proper permissions to access this function.

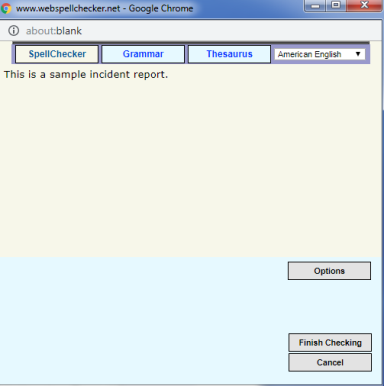
Media/Crime Summary
The Media/Crime Summary is designed to enter a brief description of the Incident. After entering a description, optionally select Check Spelling to open the WebSpellChecker window. When finished checking your entered text, select Finish Checking.

Incident Report Types
The Incident Type selection box is designed to categorize the general nature of the incident. Multiple selections may be selected to cover all applicable types that occurred during the incident. Incident Type is a searchable field when searching for incidents.
Click into the box and select all the applicable Incident Report Types from the provided list.


Click on the X to remove a selected type from the list.
Incident Report Dates and Times
The Incident Report Times area contains the various times associated with the incident, Report Date, Occurrence Date, Dispatch Date, On Scene Date and Clear Date. These incident date(s) and time(s) may be completed in Incident Reports generated by Caliber CAD or by the Calls For Service module but they still need to be verified by the user for completeness and accuracy. Editing is permitted as needed.

You can click on the date icon on the right of each date field to select a date and time, or type T in the field then tab out to return the current date and time.
Additional Information
Complete the Additional Information section as needed.
Field Arrests and Calls For Service
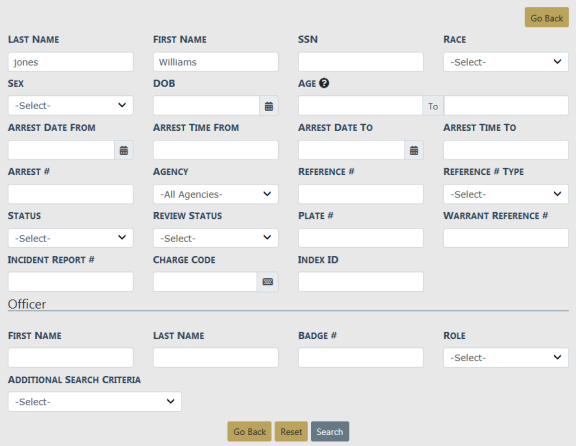
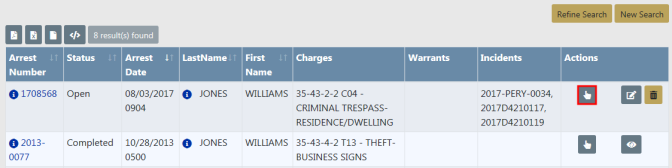
Click on the Add Field Arrest link to associate a Field Arrest to the Incident, if applicable.

Enter the search criteria in the Field Arrest Search form to locate the Arrest record, then click the Search button.
Click on the Select icon  in the Actions column to select the appropriate record in the Search Results window.
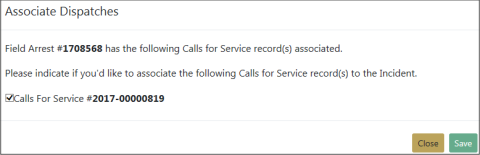
In the Associate Dispatches window, select the Calls for Service records to associate with the Incident, if any. Then click Save to associate the records, or Close to ignore the request.
If you chose to associate the Calls for Service records, the Associate Incident form appears. Select all specifics that apply, then click Save.
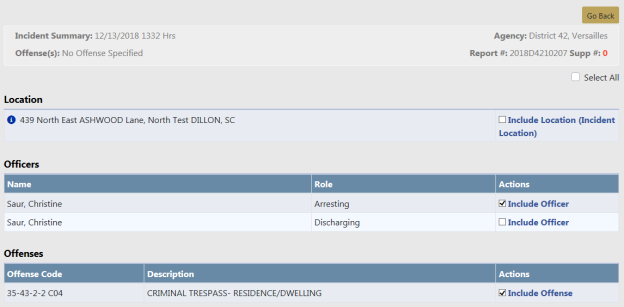
The data then appears in the Arrest and Calls for Service sections.
Click the Continue button to progress to the Report Location tab.
The Location is completed by selecting the geographic location, county of occurrence, township (if applicable) where the incident occurred. The incident address is also added on this screen by utilizing the Master Indices. There are three options available on this page: View Location Details, Update Details, or Change Location.
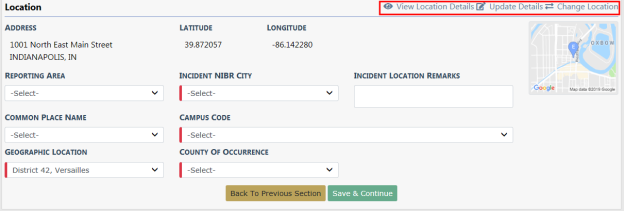
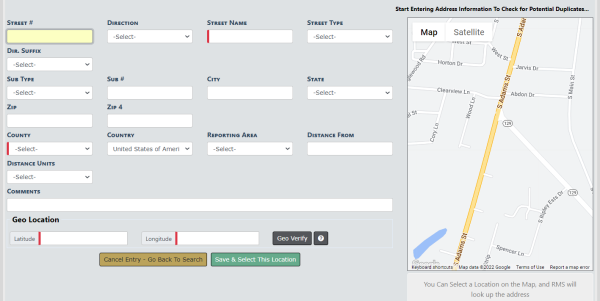
If no Location exists, type in the provided field to supply one. (This is the same screen you will see if you select Change Location in the previous screen.)

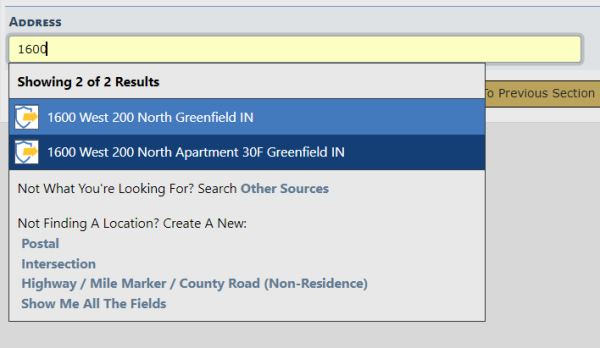
Beginning with RMS 11.10, location search is greatly enhanced. Begin typing the address and the system will return RMS locations. If your agency has Google Places turned on, you will also see Google addresses. Links will appear that allow you to add addresses and/or interact with a map for location identification.
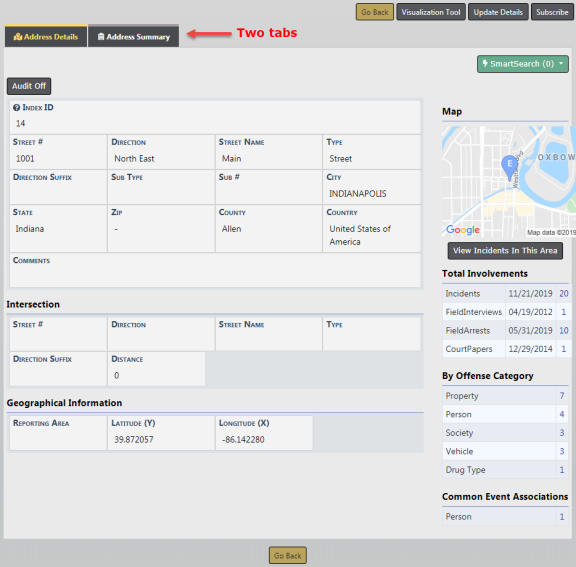
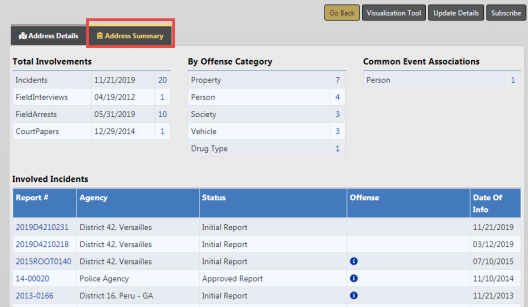
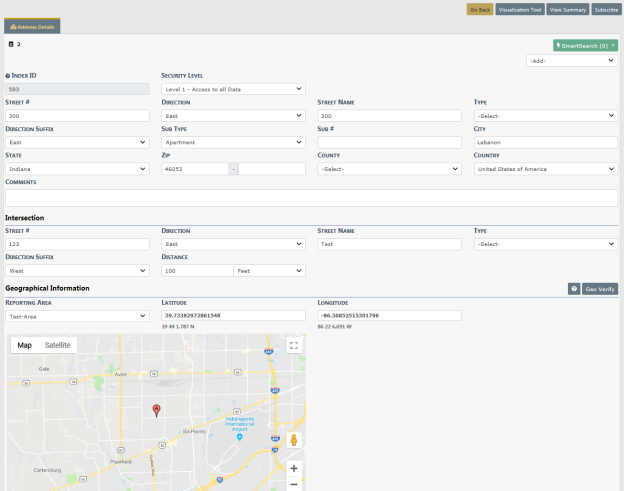
View Location Details
This displays two tabs, Address Details and Address Summary, that lists all involved incidents tied to this location, and details about the location itself.
Update Details
Update Details allows you to update the details of the location.
Change Location
Change Location allows you to change the location, address of the Incident. You may also add an address to the Master Index if it doesn't already exist.
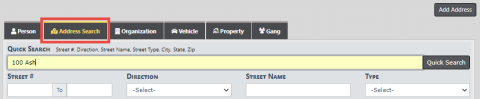
First search for an existing address to determine if the address already exists before adding a new one. It is recommended that you search by individual fields rather than the Quick Search field. See Adding Address for further instructions on adding addresses to the Master Index.
If adding a new address, click the Save and Select button. This saves the address to the Master Indices and selects the record for the report.
Click the Save & Continue button at the bottom of the window to advance to Officers .
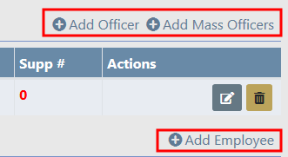
The Officers section is where all officers and employees involved in the incident are listed. The officer creating the report will default as the Reporting Officer.

Click the Add Officer, Add Mass Officers, or Add Employee hyperlink to add additional officers or employees.
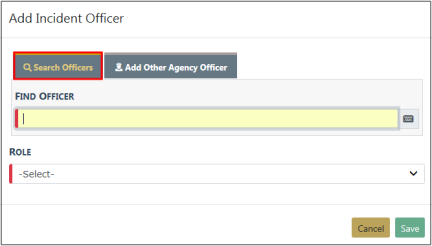
Add Officer
Use this link to add one officer at a time. Begin entering the officer name in the Find Officer field to display a list of names that match the entered text, then click the appropriate name from the list. Select the Role from the drop-down list.
Note: All Supplement reports must have a Reporting Officer associated with the report.
Select Add Other Agency Officer to add officers from other agencies. These are officers who are not Online RMS users within the current schema.
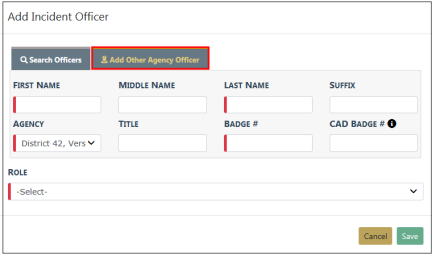
Click Save to add the officer to the Incident.
Add Mass Officers
Use this link to add multiple officers at one time. Begin entering the officer name in the Find Officer field to display a list of names that match the entered text, then click the appropriate name from the list. Select the Role from the drop-down list. Click Add Officer to add another officer, and repeat until all officers are included.
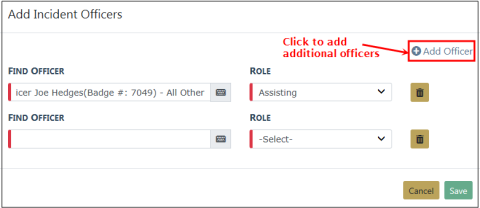
Click Save to add all selected officers to the Incident.
Add Employee
Use this link to add an employee to the Incident. Begin entering the employee name in the Find Employee field to display a list of names that match the entered text, then click the appropriate name from the list. Select the Role from the drop-down list.
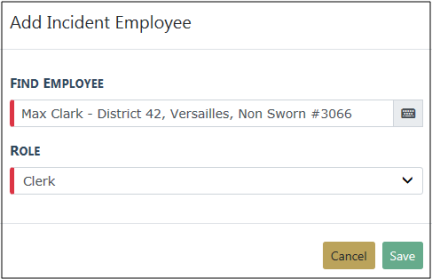
Click Save to add the employee to the Incident.
Click the Finished - Go To Next Section button to advance to the Offenses tab.