icon in the Actions column of the Warrant you want to edit. For more information on searching for a warrant, refer to Warrant Search.
From the Warrant Search Results page, select the Edit icon icon in the Actions column of the Warrant you want to edit. For more information on searching for a warrant, refer to Warrant Search.
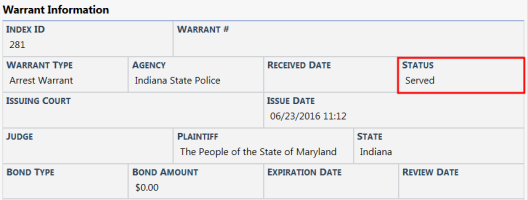
The Edit Warrant page appears.
From the Edit Warrant page select the Serve Warrant button at the top right or bottom of the page to display the Serve Warrant page.
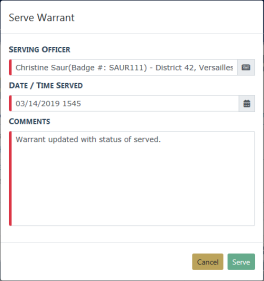
The Date/Time Served field defaults to the current date and time, and the Comment field defaults to Warrant updated with status of served. You can change these values as needed.
Once you have verified the information on the Serve Warrant page, select Save to save the record. The status of the Warrant is now Served.
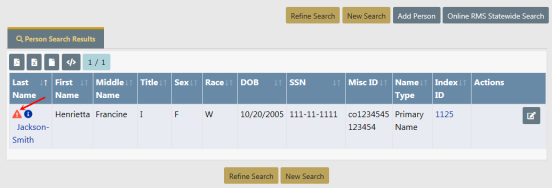
When using Master Indices Person Search, there will be an red triangle icon to the left of the Last Name on the Person Search Results page when a person has an active Warrant.
Note: For more information on Master Indices, refer to Master Indices.
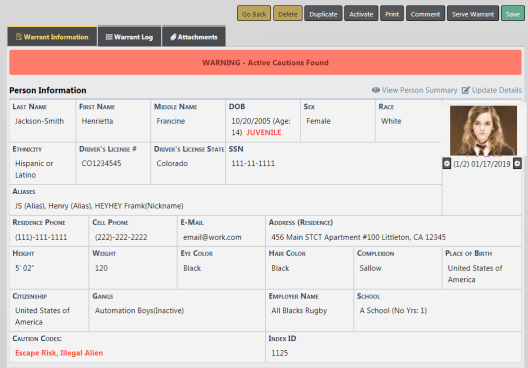
From the Person Search Results page select the Edit icon to open the Edit Person page. An Active Warrants Found message appears in red on the Person Details screen.

Click on the Active Warrants Found message to open the Person Summary tab to the Involved Warrants section that displays the active warrant in red.

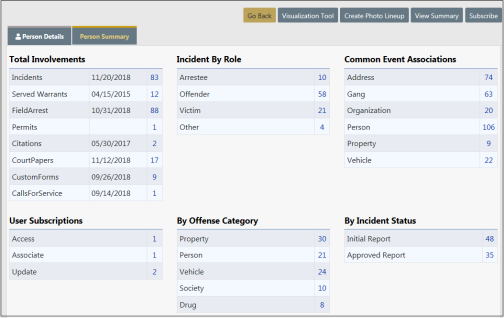
Note: You can also go directly to the Involved Warrants section from the Total Involvements summary section at the Person Summary tab. Click on the number to the right of the Warrants line item.
Select the Index ID to the left of the Active Warrant to open theView Warrant screen.

Select the Serve Warrant button to open the Serve Warrant window.

Enter the Serving Officer. The Date Served fields default to the current date and time and the Comments field defaults to Warrant updated with status of served. You can change these values as needed.
Once you have verified the information on the Serve Warrant page, select Save to save the record, close it, and return to the Warrant Information section of the Edit Warrant page, where the status now shows Served.