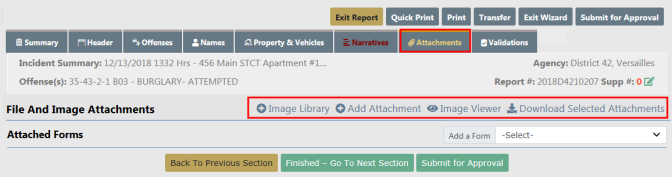
The Attachments tab is used to capture incident related attachments such as crime scene photographs or statements, and you can download existing attachments. This is also the location where Custom Forms can be completed if the agency is using them.
To add a file or image as an attachment, select the Add Attachment hyperlink. For more information on adding and downloading attachments, refer to Attachments.
To add an image file from your personal Image Library, select the Image Library hyperlink. If images do not exist in your Image Library, then the hyperlink does not appear. For more information on the Image Library, refer to Image Library.
To view an image, select the Image Viewer hyperlink.
When all attachments are saved and closed the system returns to the Attachments Tab where the files will be displayed.
There are icons next to each file in the Actions column that allows you to download, view, edit, and delete the file.
Agency Forms can also be completed in the attachments section of the incident report. Select and complete the form from the drop-down menu. Refer to your administrator for details.

Select the Finished - Go To Next Section button to advance to the Validations Tab.