icon on the vehicle record you want to update. For instructions on how to search for vehicles refer to Search Vehicles .
To edit vehicles you must first Search for the vehicle. The Search Results will provide the option to edit the vehicle data.
1. Click on the Manage Vehicles button on the Fleet Management dashboard. For details on accessing the dashboard refer to Fleet Manager.
| 2. | Search for the fleet vehicle you want to update, then in the search results window click the Edit icon on the vehicle record you want to update. For instructions on how to search for vehicles refer to Search Vehicles . |
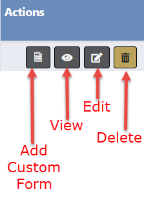
You can add a custom form  to the vehicle from Fleet Vehicle Search Results without entering edit mode with appropriate permissions. For more information, refer to Add Custom Forms to Fleet Vehicle and Assignments.
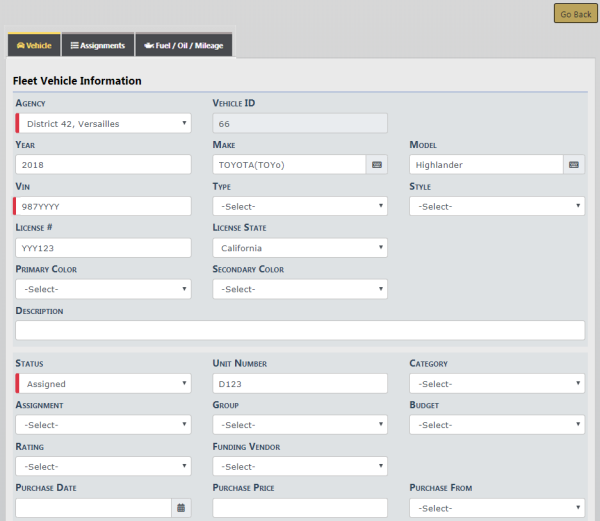
| 3. | The Edit Fleet Vehicle form opens with three tabs that contain vehicle information, past and current officers assigned to the vehicle, and fuel/oil/mileage history. |

| 4. | The Vehicle tab opens by default. You can update, add or delete various vehicle information. |
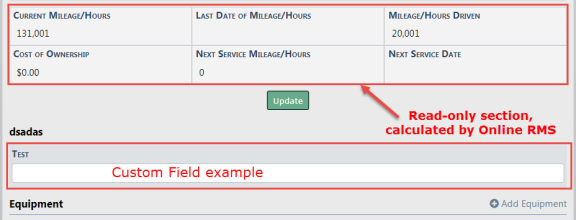
Note: Custom Fields, if applicable, appear on the screen immediately above the grid section on the Vehicle tab. The custom field Test is used as an example.
Note: Cost of Ownership does not include service maintenance records created within a crash report.
Note: Be aware of the following crash report items:
| - | You can create or manage crash reports from the Edit Fleet Vehicle screen. Click the Add Crash link to create a crash report, or click the edit icon  on a crash record in the grid to update a crash report. For details on managing crash reports, refer to Manage Fleet Crash Reports. on a crash record in the grid to update a crash report. For details on managing crash reports, refer to Manage Fleet Crash Reports. |
| - | Maintenance records created within a crash report are only visible within the crash report, not in the Service Maintenance grid on the fleet vehicle itself. |
| - | Costs associated with service maintenance records within a crash report are not included in the Cost of Ownership on the fleet vehicle itself. |
| - | Mileage associated with the service maintenance records within a crash report are not used when determining Next Service Mileage and Next Service Date on the fleet vehicle itself. |
| - | Yo |
Click the Go Back button to return to the Fleet Vehicle Search Results window, if you wish.
| 5. | Modify the necessary vehicle information on the top half of the form, then click the Update button to save. |
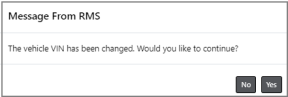
Note: If you modify the VIN number, a message displays asking if you would like to continue.
| 6. | Add, edit, or delete additional vehicle information that appears in grids below the Update button. While the instructions below only show one example, a similar method applies to all grid sections. |
Add Additional Vehicle Information
a. To add, click on the  button in the grid next to the item you want to add. Enter the necessary data in the window that appears.
For example, to add Inspection data, click on the button next to Add Inspection and the following window appears:
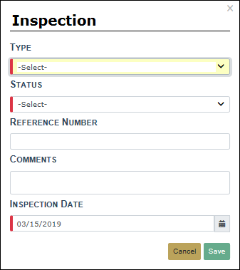
b. Enter the necessary data then click Save to add, or Cancel to exit and return to the previous screen.
Edit Additional Vehicle Information
a. Click on the edit Icon to the right of the item you want to update.

b. An Inspection window appears displaying the current information for that item.
c. Update as needed then click Save to apply the updates, or Cancel to return to the Edit Fleet Vehicle window without saving.
Delete Additional Vehicle Information
a. Click on the trash can icon to the right of the item you want to delete.

b. A confirmation window appears. Click Yes to delete or No to return to the Edit Fleet Vehicle window without deleting.